How to Create a Stunning Hallway Gallery Wall in 10 Easy Steps
Have you ever walked into a home and been captivated by a stunning hallway gallery wall? It’s more than just decor—it’s a reflection of your personality, memories, and style. Whether you’re drawn to modern minimalism, rustic charm, or an eclectic mix, creating your own gallery wall doesn’t have to feel overwhelming. With a little planning, the right tools, and some creativity, you can transform any blank wall into a breathtaking focal point. Ready to design a space that tells your story while adding visual balance and charm? Let’s dive into the steps to make it happen—starting with choosing the perfect wall space and ending with a gallery wall you’ll love every day!
1. Choose your wall space.
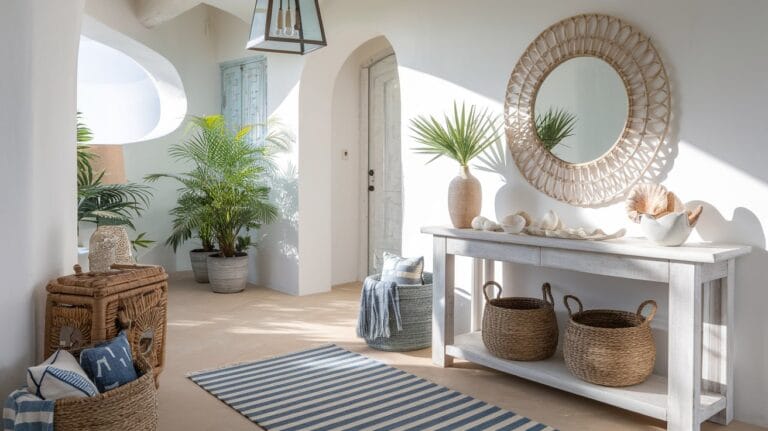
- Imagine your hallway as a blank canvas waiting to be transformed. Start by picking the perfect wall space—this is the foundation of your gallery wall.
- Look for a spot that naturally draws attention, like the area above a console table or near a light source. A well-lit wall adds life to your display.
- Consider proportions. If the wall is small, avoid overcrowding it. For larger walls, think bold and expansive.
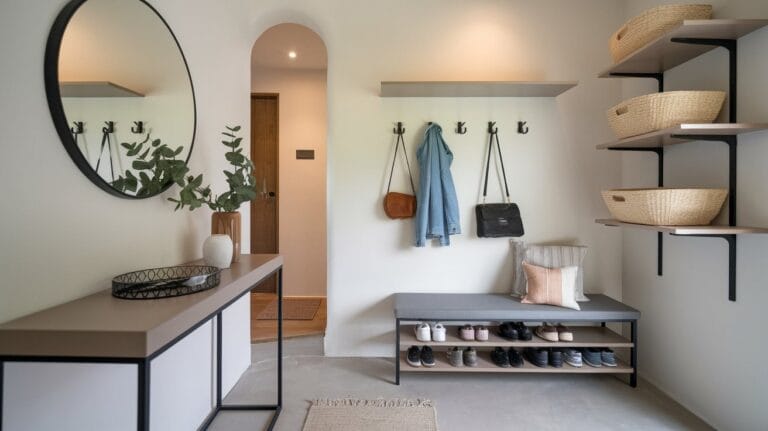
- Think about traffic flow. A hallway gallery should enhance the space, not clutter it. Walk through the area—does it feel inviting?
- Pro Tip: Use painter’s tape to outline the space. It’s like sketching a rough draft for your masterpiece.
2. Select a theme or style.
- Every great gallery wall has a unifying theme. Are you drawn to modern simplicity, rustic charm, or an eclectic mix? Decide early to set the tone.
- A theme doesn’t mean monotony. For example, “rustic” can mix vintage frames with nature-inspired prints. “Modern” might pair black-and-white photos with sleek lines.
- Personal touches make it unique. Think about your favorite colors, patterns, or memories you want to highlight.
- Avoid overthinking. Your theme can evolve as you gather pieces. Start with one anchor item, like a large framed print, and build around it.
- Visualize the vibe you want. Cozy? Sophisticated? Playful? The theme should feel like an extension of your personality.
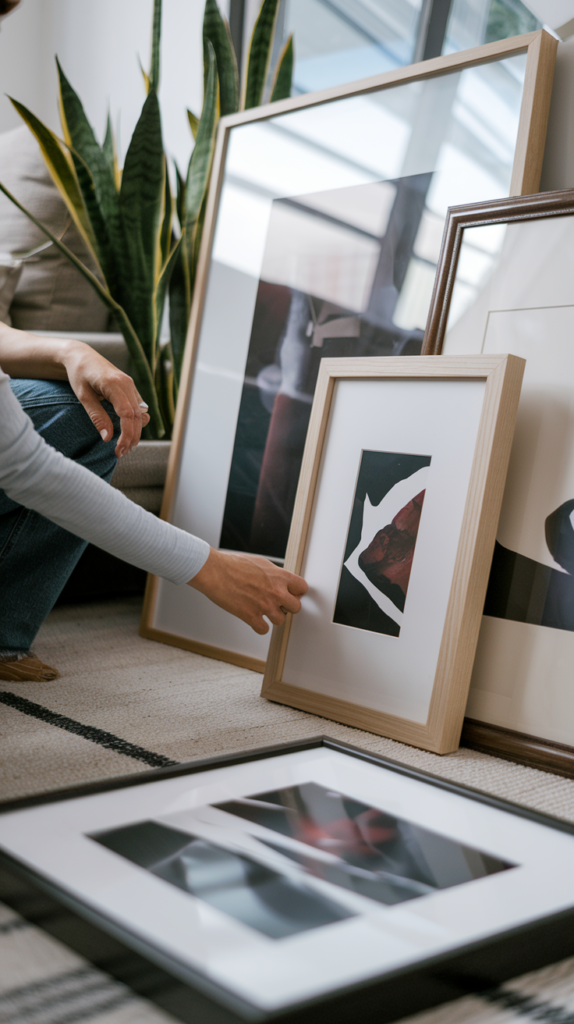
3. Gather your artwork or photos.
- Collect pieces that resonate with your theme. Family photos, travel souvenirs, vintage postcards, or DIY art—all are fair game.
- Mix textures and mediums. Pair canvas prints with framed photographs or add a small decorative object for dimension.
- Don’t feel pressured to buy everything new. Raid your attic, thrift stores, or online marketplaces for hidden gems.
- Think balance. Include a mix of sizes, shapes, and orientations—some horizontal, some vertical, and even a few square pieces.
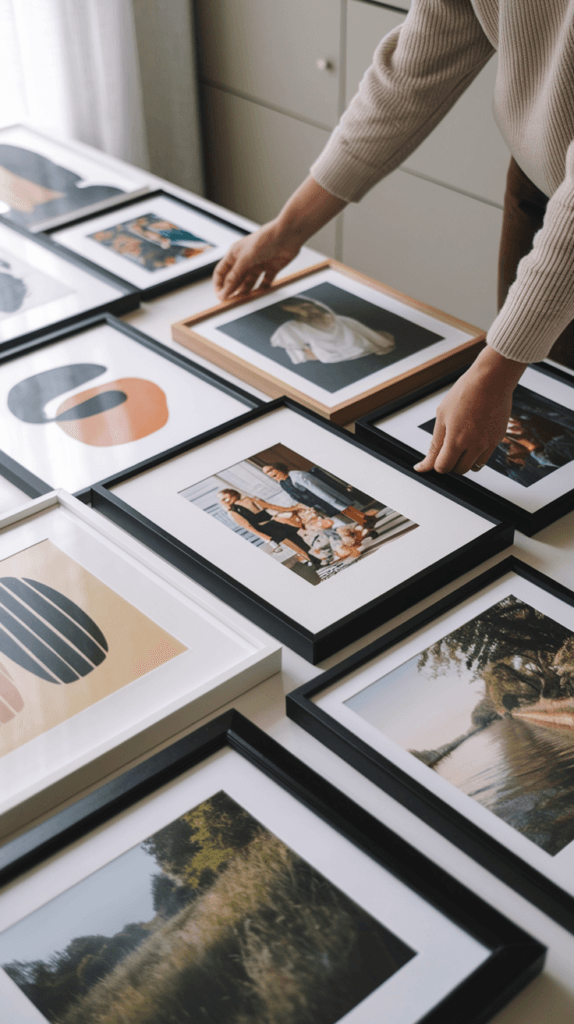
- Bonus Tip: Lay out your finds on a table. It’s like auditioning actors for a play; only the best pieces make the final cut.
4. Measure the wall and plan layout.
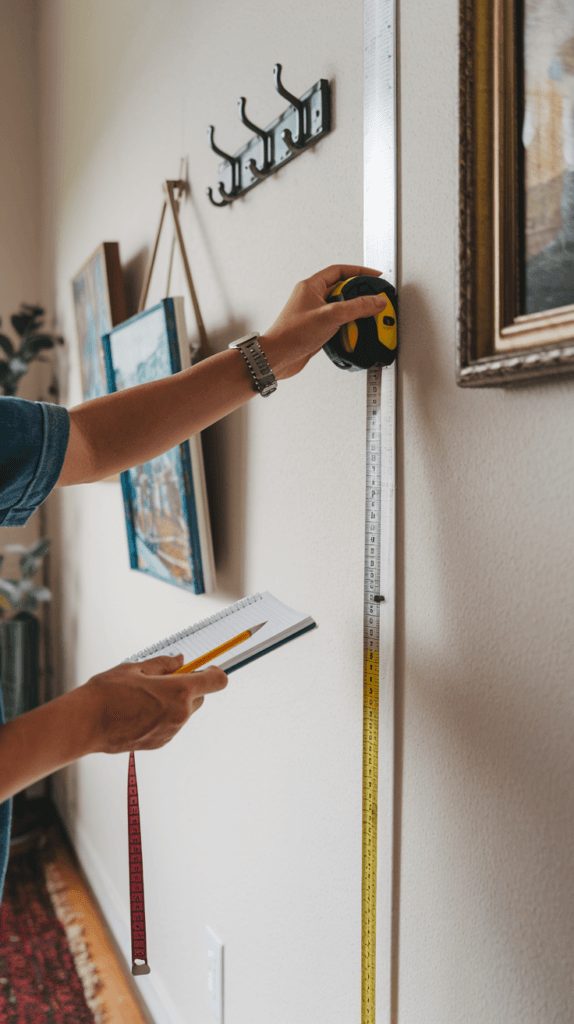
- Grab a tape measure—this is where the magic (and math) starts. Note the wall’s height and width to determine how much space you have.
- Use paper cutouts to mimic your frames. Tape them to the wall to visualize placement before committing. It’s like a dress rehearsal for your gallery.
- Keep spacing consistent. Aim for 2-3 inches between frames to avoid a cluttered look. Think of it as giving each piece room to breathe.
- Consider the “eye-level rule.” The center of your gallery should align with average eye level, around 57-60 inches from the floor.
- Sketch a layout on paper. It’ll save time and frustration later. Trust me, your future self will thank you.
5. Lay out the pieces on the floor.

- Before you pick up a hammer, lay everything out on the floor. This is your chance to experiment without commitment.
- Start with the largest piece as your anchor and build outward. Think of it like arranging furniture—you want balance and flow.
- Play with symmetry or go asymmetrical for a more dynamic look. Either way, ensure no single piece feels out of place.
- Take a step back and evaluate. Does it feel cohesive? If not, shuffle things around. It’s like solving a puzzle, one piece at a time.
- Pro Tip: Snap a photo of the layout. It’s an easy reference once you start hanging.
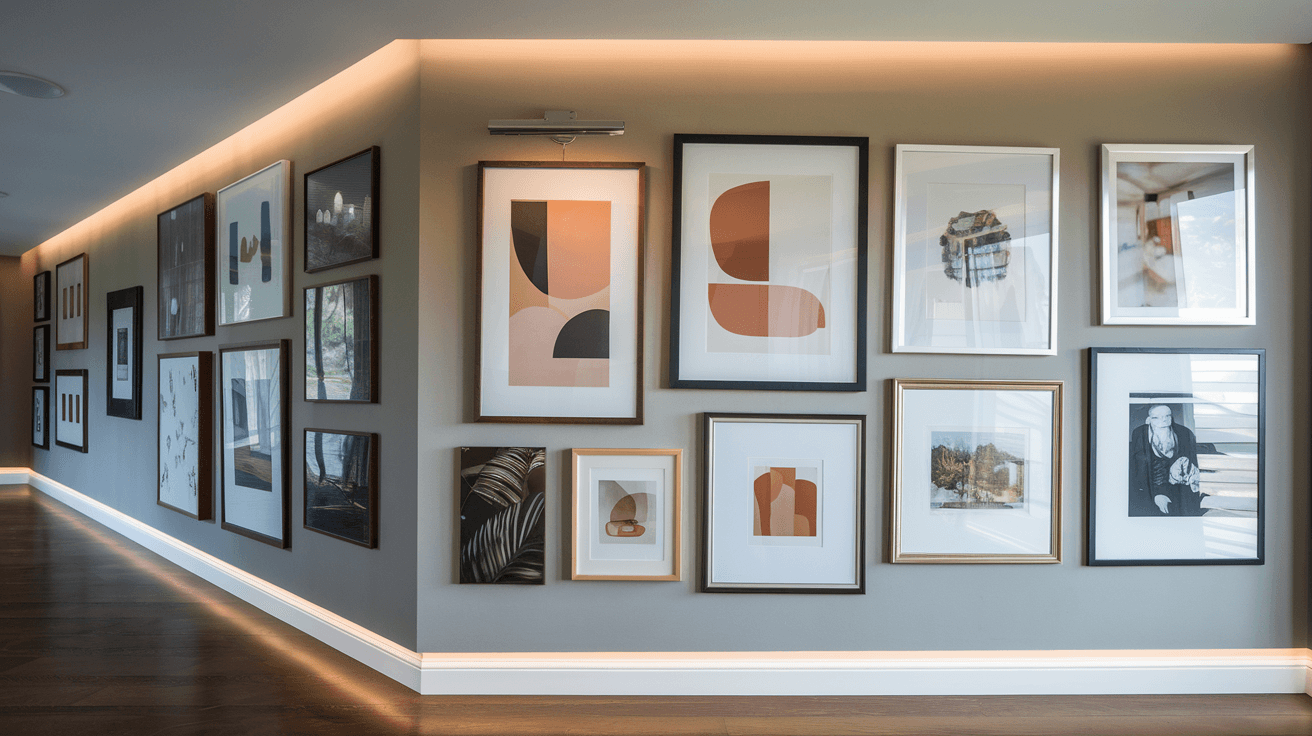
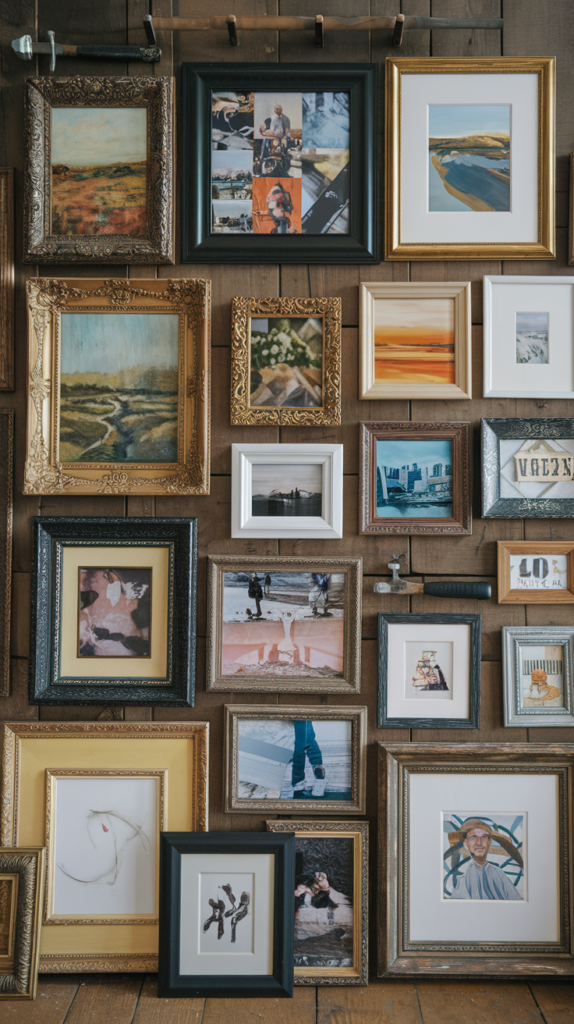
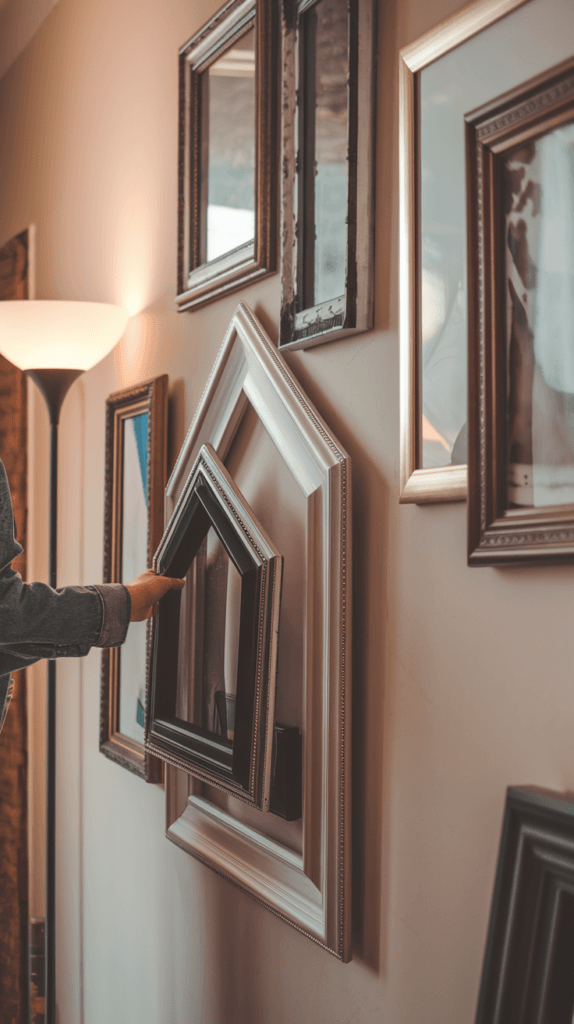
6. Arrange frames for visual balance.
- Balance is key to a gallery wall that feels intentional, not chaotic. Mix large and small frames to create visual interest.
- Odd numbers tend to feel more natural to the eye. Groupings of three, five, or seven often work better than even numbers.
- Avoid lining everything up like soldiers. Stagger heights and angles to keep the arrangement lively and engaging.
- Think about negative space. Leaving gaps between clusters can make your wall feel less overwhelming and more inviting.
- Test different arrangements until it feels “just right.” Trust your instincts—it’s your gallery, after all.
7. Pick the right frame sizes.
- Frame sizes can make or break your gallery wall. Aim for variety to keep the display dynamic and engaging.
- Mix large statement pieces with smaller accents. It’s like pairing a bold necklace with delicate earrings—contrast is key.
- Stick to a cohesive style. For example, choose all wood frames for warmth or metal for a sleek, modern vibe.
- If you’re mixing styles, keep colors consistent. Black, white, or natural wood tones blend seamlessly together.
- Tip: If your frames feel mismatched, spray paint them for a unified look. It’s an easy fix that works wonders.
8. Use proper hanging tools.
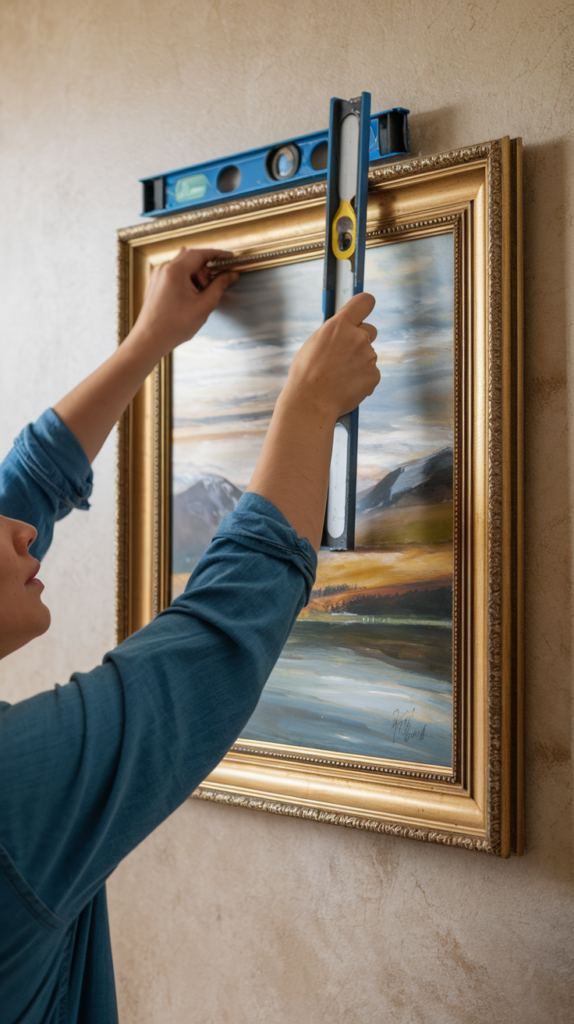
- The right tools ensure your gallery wall stays secure and level. Start with a stud finder to locate wall studs for heavier pieces.
- For lighter frames, use adhesive strips or wall anchors. They’re damage-free and perfect for renters.
- Invest in a good level. A crooked frame can throw off the entire look, no matter how stunning the arrangement.
- Use a pencil to mark your spots lightly. It’s better to erase than to leave unnecessary holes.
- Pro Tip: Hang one piece at a time, starting from the center. This ensures precision and minimizes mistakes.
9. Hang your art, starting from the center.
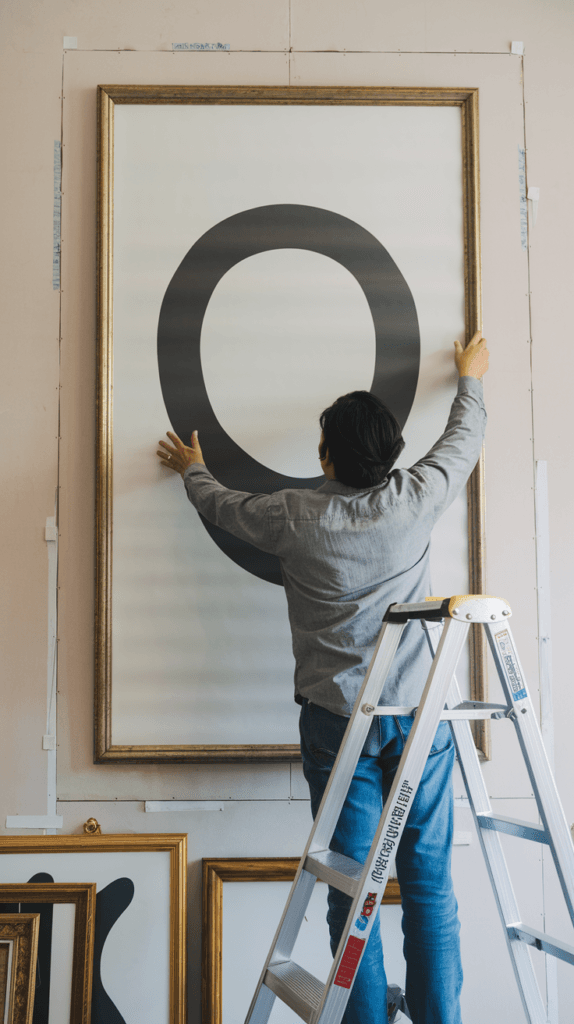
- Begin with your anchor piece—the star of your gallery—and hang it first. This keeps the layout grounded and balanced.
- Use the center as your guide. Align the anchor piece with eye level and build outward in both directions.
- Work systematically. Move left to right or top to bottom, depending on your layout. Patience is key here.
- Double-check spacing as you go. A few extra minutes now can prevent hours of rearranging later.
- Celebrate small wins. Each frame you hang is a step closer to your finished masterpiece.
10. Adjust and enjoy your new gallery wall!

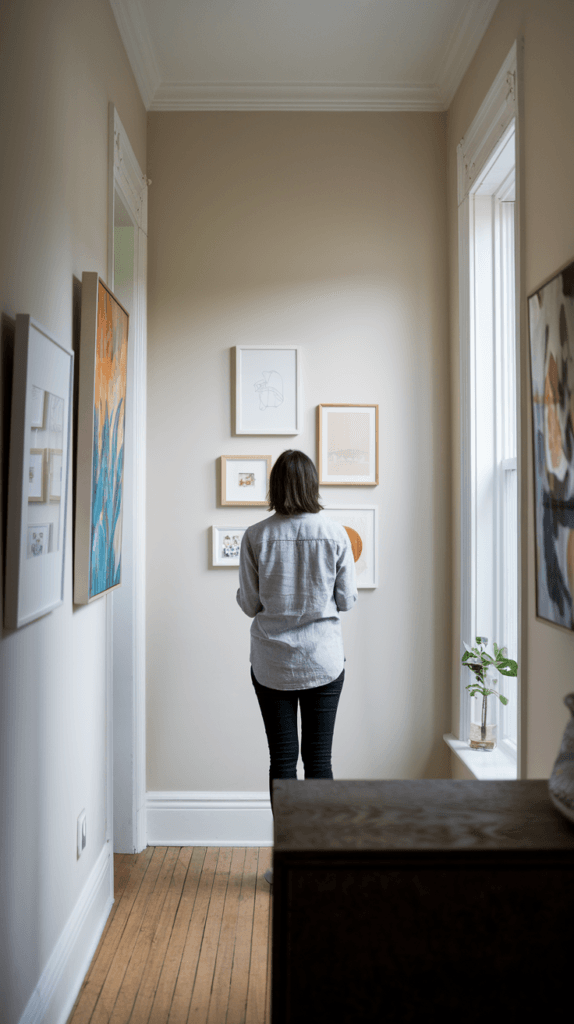
- Step back and admire your work. Does anything feel off? Adjust spacing or swap pieces if needed. Perfection takes time.
- Add finishing touches, like greenery or small decorative objects, to enhance the display. Think of it as accessorizing an outfit.
- Take a moment to reflect. Your gallery wall isn’t just decor—it’s a collection of memories and personal touches.
- Share your creation with friends and family. It’s always fun to hear their reactions and stories the wall inspires.
- Finally, enjoy the process. Your hallway is now a space that feels uniquely yours, ready to welcome you and your guests every day.
conclusion
Your hallway gallery wall is more than just decor—it’s a reflection of your personality, memories, and creativity. By following these simple steps, you’ve transformed a plain wall into a stunning focal point that tells your story. Remember, there’s no “perfect” way to design a gallery wall; it’s all about what feels right to you. So, take a step back, admire your handiwork, and let your space inspire you daily. Now that your hallway feels complete, why not tackle another room? After all, your home is your canvas, and the possibilities are endless!